Upload your Amazon Brand Story step by step
In this guide, you will learn how to create a brand story in your Seller Central account. The prerequisite for creating a brand story is that you have already linked your brand to Amazon Seller Central and have created at least one product in connection with this brand.
How do I create my brand story?
- Register in Seller Central
- Navigate to the A+ content page via Advertising ⇒ A+ Content Manager
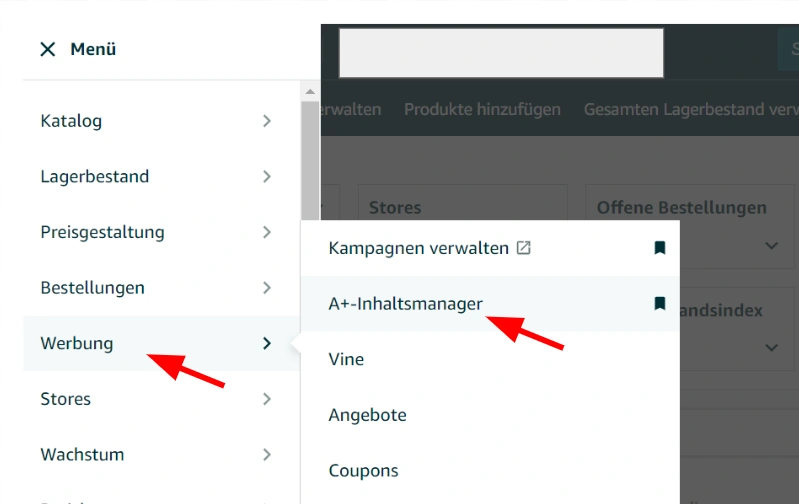
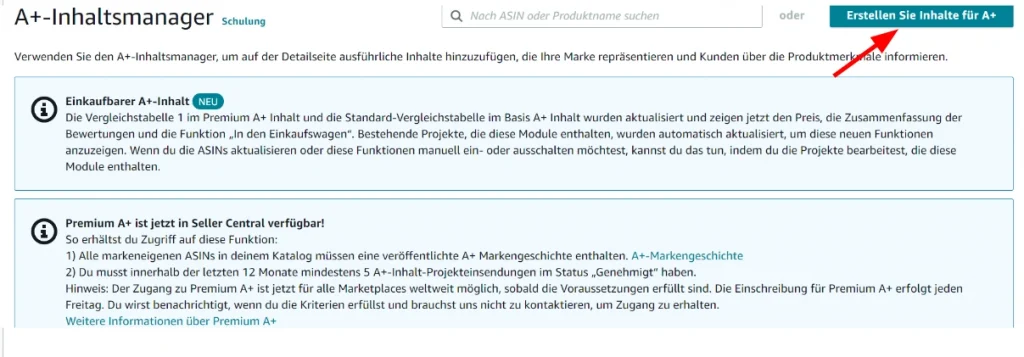
3. click on the “Create new content for A+” button
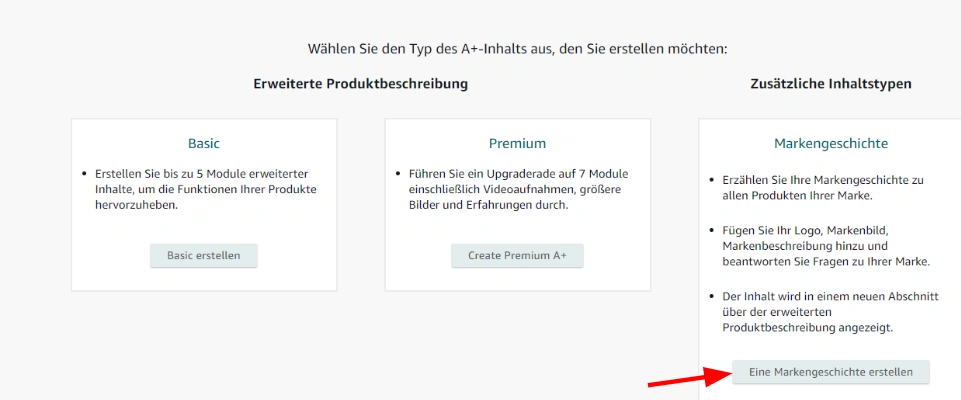
4. choose between A+ and A+ Premium
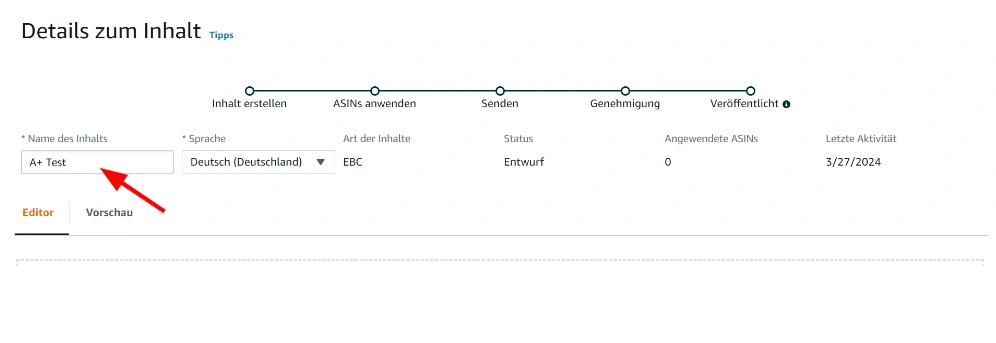
5. enter a name for the brand story in the input mask that opens
6. you can now use the “Add modules” button to add different modules to your A+ content. models are a type of template that have a specific template. As an example, we can select a module called “Brand card: Info”.
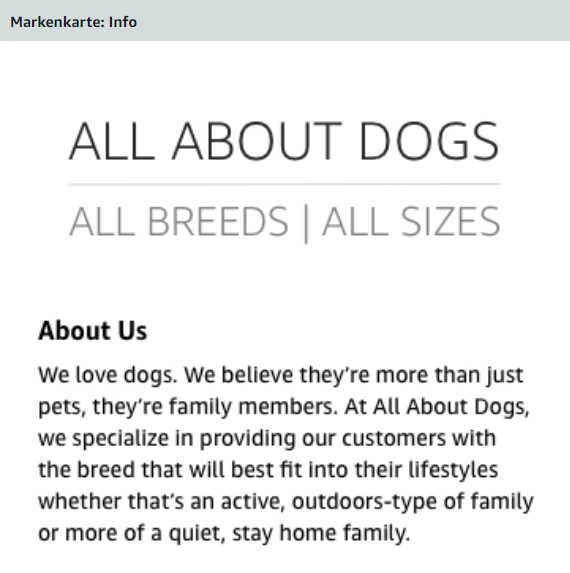
7. click twice on the blue “Add image” button to open the Asset Library
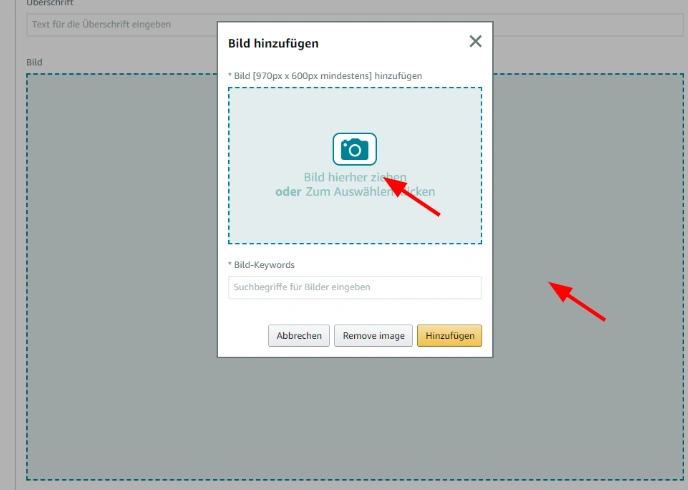
8. you can now upload new images in the Asset Library using the “Upload Image” button

When uploading new images, it is important to add meaningful keywords from your KW Research as alt text in order to optimize your listing for Amazon SEO in the best possible way.
As you progress, you can now assemble your brand story from different modules. Once you have assembled your desired content, click on the “Next: Apply ASINs” button at the top right of the page:

Here you add the ASINs for which you want to display your brand story. To do this, search for the ASIN in the search mask provided, check the box and add it using the “Use content” button.

You can now submit your Brand Story to Amazon by clicking on the “Next: Review and submit” and “Submit for approval” buttons in the top right-hand corner. Within the next 24-48 hours, the content will then be checked accordingly and, if everything complies with the Amazon style guides, displayed on your product detail page.
Do you have any questions? Please contact us by e-mail or find out
here how we as an Amazon agency can simplify your everyday life as a seller!